Vanco provides an online donation service for churches and charities in the USA and Canada. If you use that service, you can contact them and ask to receive the export files for Software4Nonprofits. Our understanding is that those files can be emailed to you either daily or weekly, covering the donations you received through Vanco in the previous day or week.
When you receive those emails from Vanco, you will need to save the attached export file, which will have the extension ".csv", to somewhere on your computer where you can find it, for use with the following instructions. (CSV means comma-separated value, a text file with fields usually in quotes, and separated by commas.)
Vanco identifies their donors by ten-digit Customer IDs. To be able to maintain those IDs in the program, you first need to check "Customer IDs" in the Show Fields area of the Donor Details tab of Maintenance ⇒ Main Window Options. Once you have done that, among other changes the menu option Database ⇒ Import ⇒ Vanco Donations becomes visible.
Using that import menu option brings up the following window:
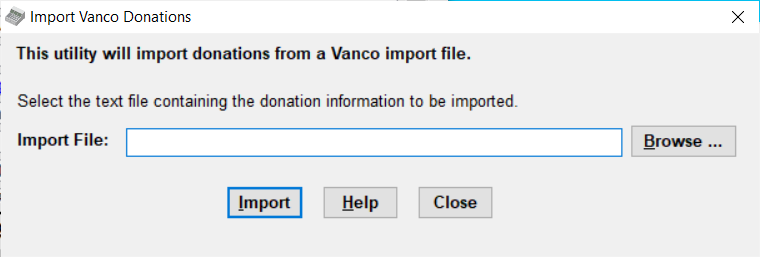
If you have used it before, your last-used Import File name will already be displayed in the Import File field. However, normally you will be importing a new file each time, so you can either type the full path for that file in the field, or use the Browse button to open a window where you can select it.
Doing the Import
Once you have the desired file in the Import File field, click Import.
Matching Donation Categories
The first thing it will do, after making sure that this appears to be a valid Vanco import file, is check whether any of the lines in the file include donation categories that have not been imported before, and do not match any category descriptions that you already have in DONATION. If that is the case, a window for dealing with that will be displayed. It allows you to associate the new ones with existing donation categories, or create your desired shorter forms (maximum 20 characters) for new categories.
See Importing New Categories for full details.
Matching Customer IDs to Donors
Unfortunately, importing donations from Vanco is complicated by the fact that their exported file does not contain any information that DONATION can use to identify the donor, other than their Customer ID. So if all of the Customer IDs in a given import file have been part of imports you have done before in DONATION, that will not cause a problem. However, if some of the IDs are new (or this is the first time you have imported Vanco donations into DONATION) some extra steps will be required to match the Customer IDs to your donors.
In that case, a window such as the following will come up:
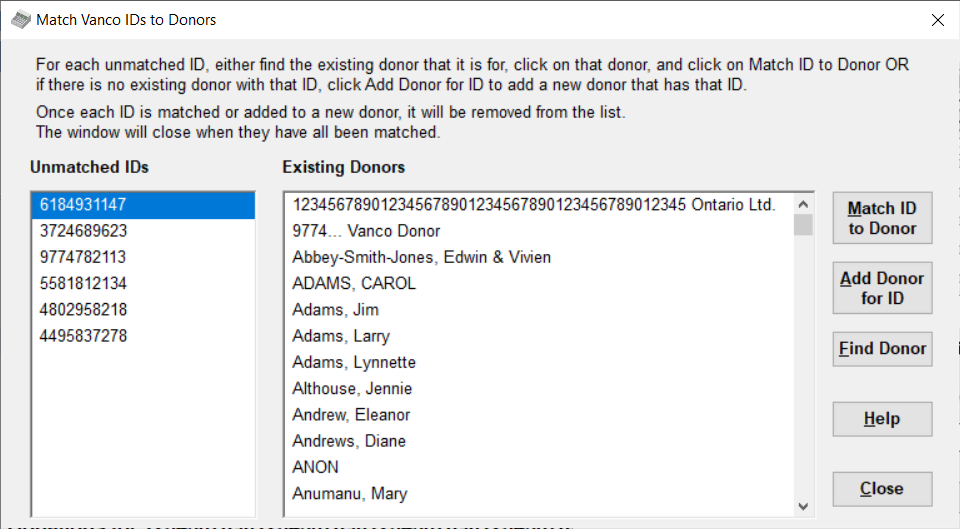
The text at the top of the window should be quite self-explanatory.
To determine which ID matches which donor, you will have to use other resources from Vanco. Our understanding is that they send you PDF reports along with your exported donation files, that will show information about the donors, allowing you to do this matching. You can presumably also go online to Vanco to look up donors by Customer ID.
If a Customer ID corresponds to a donor already in DONATION, when that ID is selected in the list at the left, just find and click on the appropriate donor on the right. You can scroll to it to find it, or use the Find Donor button, which works just like the Ctrl+F Find Donor feature on the program's main window. Then click Match ID to Donor to make that match. That will be done after you answer a question confirming the match.
If the Customer ID does not seem to correspond to any donor in DONATION, click the Add Donor for ID button. That will bring up a window for just adding in one donor, just as you could do on the program's main window (or with the Add Donor button in the Batch Entry window). Once you save that donor, the ID will be associated with it.
As you match each ID to an existing or new donor, that ID is removed from the list at the left. Once all of the IDs have been removed, the window will close and the import will continue.
If you close the window before matching all of the IDs, your import cannot continue, but you can come back and finish your work on it later.
Associating Customer IDs to donors can also be done with the IDs button in the row of buttons for the Donor Details area of the main window. Some users may prefer to get all of their Customer IDs saved into DONATION in that way, rather than waiting for the above window to be displayed during the importing process.
Reviewing the Data to be Imported
Once any new donation categories and IDs have been dealt with (if there were any), the program will check that you are not accidentally re-importing the same file of donations a 2nd time. If any of the donations to be imported have the same Date, Amount and Category as an existing donation for the same donor, the import will not proceed.
If there were no problems, a window will then be displayed in which you can review the donation information to be imported. It shows the donor's Name and Customer ID, and the donation's Date, Amount, Category and Paid By. (The category displayed is the matched Donation Category, not whatever was in the import file from Vanco if that was different and was matched to a Donation Category.) The Paid By (short for Cheque # / Paid By) will always be "Vanco".
Review that, and if it looks correct, click Import in that window to complete the import. A message will then come up telling you how many donations were imported.
This topic was last edited on Feb 17, 2023