Once you have used the New or Edit button on the Vendor List window, you will be brought to the following detail window for that vendor, to create or edit its properties. (This is a sample, for one sample vendor we created.)
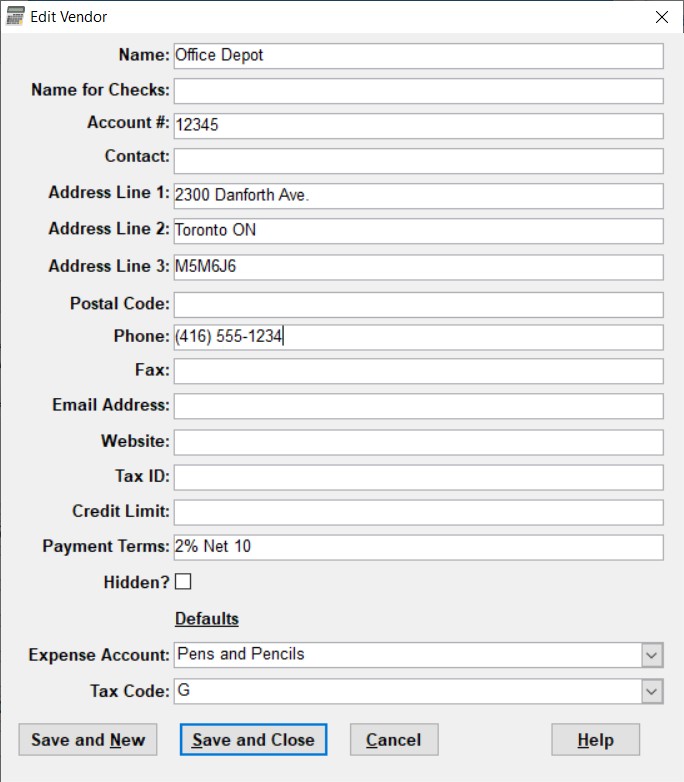
You can also get this window by selecting the "<Add Vendor>" option on the drop-down list of vendors in the window for creating or editing bills.
Most of the fields for a vendor should be pretty obvious.
•The Name is what will normally be printed as the payee on any cheques that you write to pay bills for this vendor, and is also what you would select from a list of Vendors or Payees for a transaction such as a cheque. (It is the only required field for a vendor.)
•The Name for Cheques is an override of the name, for printing on cheques. It will be printed as the payee on cheques if it is filled in for a vendor; otherwise the regular Name field is used.
•The three Address lines and Postal Code will also be printed on any cheques.
•The Account # will be printed on the Memo line of the cheque, if it is filled in. (If it isn't, any Memo associated with the Bill will be printed as the Memo on the cheque.)
•The Payment Terms are for your own information (ACCOUNTS does not do any special calculations with them).
•Check the Hidden checkbox to hide this vendor on drop-down lists of vendors for new bills etc. (You would do this if it was an old vendor that you are no longer dealing with.)
There are two fields under the heading Defaults:
•The Expense Account is a default account for transactions for this vendor.
•The Tax Code is a default tax code for transactions for this vendor.
If either or both of those are filled in, then when you select this vendor in any of the Register, Write Cheques, Credit Card Charges, or Enter Bills windows, if the relevant fields are not already filled in, they will be filled in with that default value. For the Expense Account, the relevant field is the Account on the Register. It is the first splits row Account on the other windows. These defaults are applied as soon as you move out of the Vendor, Description, Payee or "Pay to the Order of" field on those windows, to another field or another part of the window, based on the vendor that you picked (if any).
After entering all of the fields as desired, click Save and New to save the changes and clear this window to allow you to enter another new vendor. Or you can click Save and Close to save the changes and close the window. Or you can press ESC or click Cancel if you wish to cancel your changes and close the window.
Changing Vendor Names
If you have an existing vendor, and there are transactions (including bills and bill payments) for that vendor, there is an issue if you change the vendor's name.
What the program does is warn you if you are making such a change. It informs you that existing transactions will not be changed. However, if you have a transaction that is a cheque for that vendor, and you go to print that cheque, the new vendor Name (or Name for Cheques) will be used in that case.
This topic was last edited on Mar 23, 2023